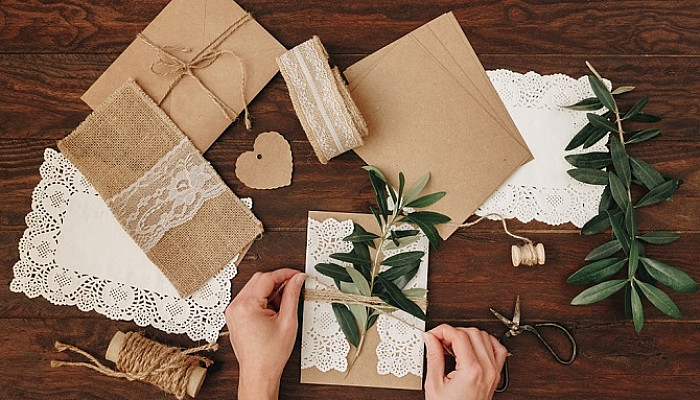
Easy to Make Wedding Invitations DIY Wedding Invitation Ideas

Wedding invitations come in different designs and styles. Choosing one from existing designs is not tough rather it’s quite common. Everybody does that and you are not doing anything different. Just select a design, fix numbers, add some wording, and mail the card to all the guests who are listed on your guest list.
What next?
You card reaches its destination, it gets opened, guests will go through its wording and that’s it. This actually happens to all the wedding invitation cards that lack a personal touch. The more time you spend on designing your wedding card, the more your guests will admire.
So, what you should do to come up with a card that grabs attention. You have two options; either buy a costly wedding invitation kits or make the same at home.
Yes, you heard it right. You can actually make your own wedding invitation that is too at much affordable rates. Want to know how?
Be with us in this article where you will learn about homemade wedding invitations ideas and DIY wedding invitation kits.
How to make your own wedding invitations at home
Making your own wedding card is not a rocket science. All you need is a plan of action and some friends that can help you finish up with this invitation press line.
Let’s get started.
Step-1: Choosing the Unique Design
It all starts with the design. You have to be clear with the basic layout of your wedding invitation. Whether you want to send a wedding invitation kit or just a card designed at home. There are different kinds of designs available in the market and you should not hesitate to check out some of them. There is no harm in stealing someone’s ideas and come up with a completely different design based on that.
Just try some wedding card shops and smartly capture their basic layout in your mind. You will come up with a unique idea, for sure.
Step-2: Allocate Budget
Based on the design, number of elements to use, and invitation count, you have to set a budget for the DIY wedding invitation kit. While calculating a number of guests, make sure you keep some extra cards for the last minute reminders.
Step-3: Go Creative with Décor
Once you are completely clear about the card design and budget, it’s time to showcase your creative skills. Try every element that you think will go awesome on your card. You can try using your would-be picture, some glitters, ribbons, watercolors, and more.
Try all these on a single card first (if you have enough time). If it looks good, go on with other cards also.
Step-4: It’s Time to call your Craftiest Friends
You cannot complete this marathon of DIY wedding invitations card making on your own. So, call out your craziest friends and family members to join the race. Make it more happening with some bottle of vodka and music. The feeling of making and seeing how your wedding card is being designed is just unbeatable. Don’t forget to capture these special moments in photographs.
You can also use some paper cutting and folding tools to save time and efforts. The paper cutting tool will help you cut your card from larger sheets. While the paper folding tool will help you fold cards easily.
Step-5: Pack it with Love
The envelope is the first thing that your guests will see when receiving your invitation, so make sure it matches all your efforts and hard work. Be very careful while choosing the envelope size. Your DIY wedding card has to fit in the envelope with no efforts.
Go with some beautiful ribbons that match your theme and style. You can also try some sticky adhesive to bring some more beauty to the card.
So, these were the few things that you can consider while making your own wedding invitations. It’s a unique idea that will be appreciated, for sure.
Hope this works for you. Tell us about how you made your DIY wedding invitation at home. We would love to hear that.
This content was created by AI


